
How to Organize Kitchen Drawer (Quick & EASY) Part 1
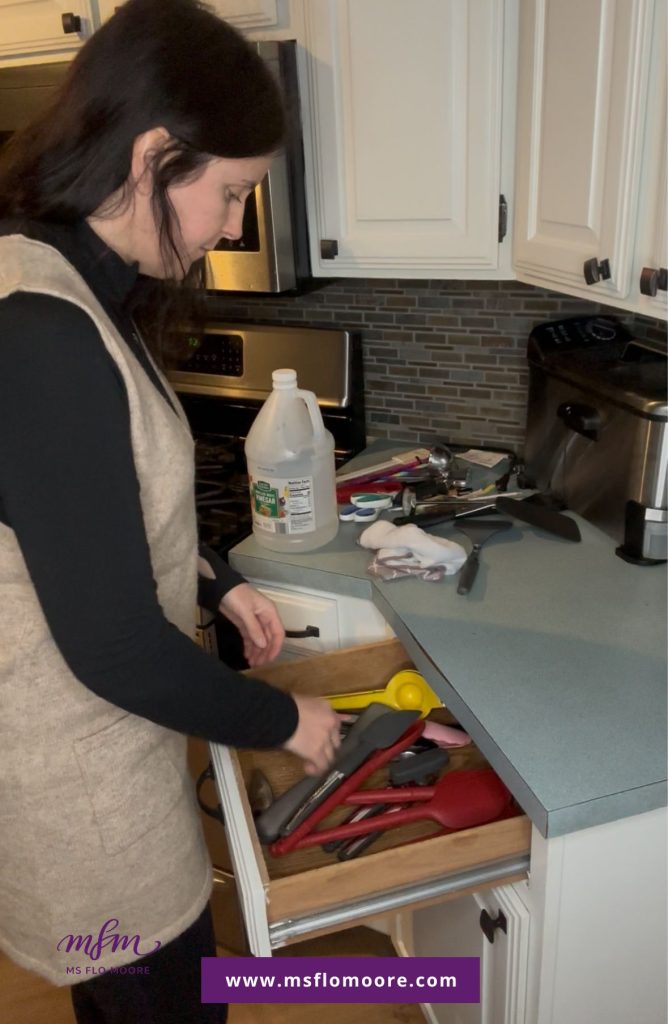
I didn’t plan to declutter my kitchen utensils that day. I just needed one spoon — the one I always use — and the drawer stuck halfway open.
I pulled it harder. The drawer scraped. A tangle of spatulas, whisks, and random gadgets shifted, but nothing came out easily. What should’ve taken five seconds turned into irritation I didn’t have the energy for.
So I set a timer for ten minutes.
I pulled everything out and lined it up on the counter. That’s when I noticed how many utensils I never reached for. Duplicates. Melted handles. Tools I’d kept because they came in a set, not because they worked for me.
I chose the few utensils I actually used and put them back first. The drawer slid shut smoothly. No forcing. No noise. Just space.
When the timer went off, I stopped — even though I could’ve kept going. And that surprised me. The kitchen already felt easier. Cooking later that night felt calmer. Cleanup took less effort.
Nothing dramatic changed. But something shifted.
That’s how these missions work. Ten minutes. One drawer. A small decision that makes the rest of the day feel lighter.
And that’s a win worth repeating.

Want to save this checklist? Enter your email below and we’ll send the checklist straight to your inbox.
Fields marked with an * are required

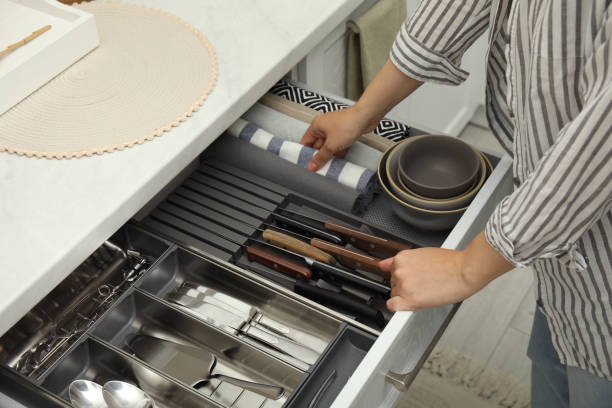
Start With Your Favorite Pieces
One simple mindset shift makes organizing your kitchen so much easier: start with your favorite pieces first.
Instead of keeping entire sets or “just in case” gadgets, keep the tools you actually reach for without thinking. Your go-to spatula. The whisk that feels right in your hand. The turner that works every time. When you organize around those favorites, the drawer naturally stays functional because it’s built for real life — not storage.
Most kitchens honestly run beautifully on a small core set. You don’t need dozens of utensils to cook well. A handful of reliable basics is usually more than enough.
Here’s what I personally keep:
- Stainless whisk
- Long cooking tongs (12 inch)
- 4-5 wooden spoons
- 5 silicone spatula set
- Milk frother for coffee or lattes (handheld)
- 2 silicone spatulas
- Classic whisk
That’s honestly the foundation of what most kitchens need.
I like stainless steel because it’s sturdy, long-lasting, and easy to clean. Wood or bamboo feels natural, won’t scratch pans, and keeps things simple and non-toxic. Food-grade silicone is perfect for scraping bowls and working with nonstick cookware. Simple materials, simple tools — nothing fussy.
No giant utensil crock overflowing with random gadgets. Just a calm, functional drawer filled with pieces you actually use. Very “Decluttered & Peaceful Kitchen” energy.
How to Organize Kitchen Drawers So They Actually Stay That Way
Organizing kitchen drawers isn’t about fitting everything in. It’s about making everyday tasks easier.
Kitchen drawers work best when you can open them and immediately find what you need without digging or rearranging. When everything has space and purpose, cooking feels smoother and cleanup takes less effort. That usually comes down to fewer items, simple groupings, and placing tools where they naturally support how you cook.
When you keep only what you use and give everything breathing room, the drawer stays organized without constant maintenance. Simple systems last longer than complicated ones — and that’s what makes this approach stick.
How to Organize Deep Kitchen Drawers Without Overcomplicating It
Deep drawers can either support your kitchen or work against it. When items get stacked and buried, even good tools become frustrating to use.
The simplest way to organize deep kitchen drawers is to edit first. Remove duplicates, broken utensils, and anything you don’t naturally reach for. Once the extras are gone, limit each drawer to just a few categories and store items flat or loosely grouped so everything stays visible.
The goal isn’t to make the drawer look full or perfectly arranged. It’s to make it easy to open, grab what you need, and close without digging.
Now let’s walk through it step by step — whether you have deep drawers or regular ones like I do.
I’m sharing this checklist completely free, along with a photo walkthrough and a watch-me-declutter video inside my Facebook group. You’ll find the printable PDF kitchen utensil checklist right here on the blog.
So enough talking — let’s organize the kitchen utensil drawer shall we? This post may contain affiliate links for your convenience (which means if you make a purchase after clicking a link, I may earn a small commission at no extra cost to you). You can read my full disclosure policy here.
Materials to declutter & ORGANIZE KITCHEN DRAWER UTENSILS
- To clean the dresser and nightstand, use 100% cotton cloth or microfiber clothes
- Paper towels to wipe drawer dry and pick up any crumbs or hard to get at pieces
- Vinegar to clean drawer
- OPTIONAL: Vintage wind-up timer (used for 10-minute resets)
- Checklist #4 — My free 10 Minute Organize Kitchen Drawer Utensils (available in my free resource library—get the password by filling out the form at the bottom of this page)
How to declutter a bedroom in 10 minutes
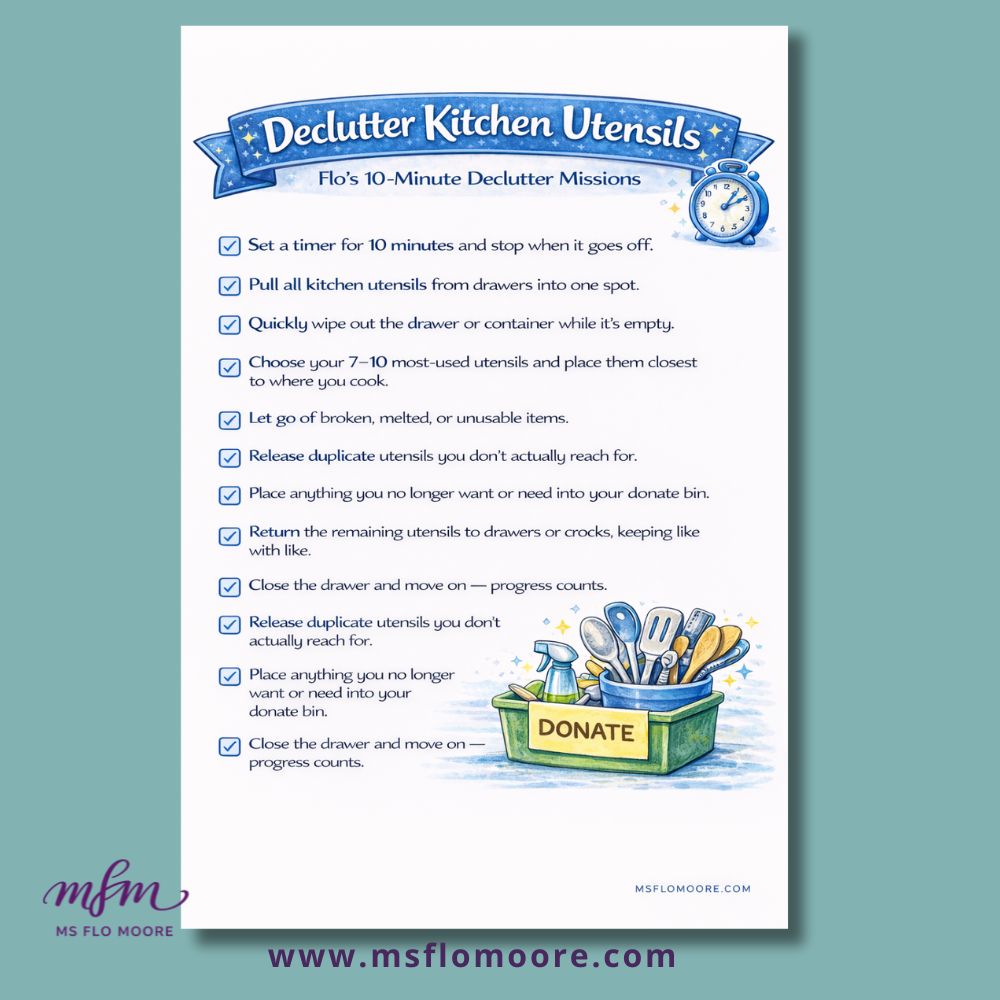
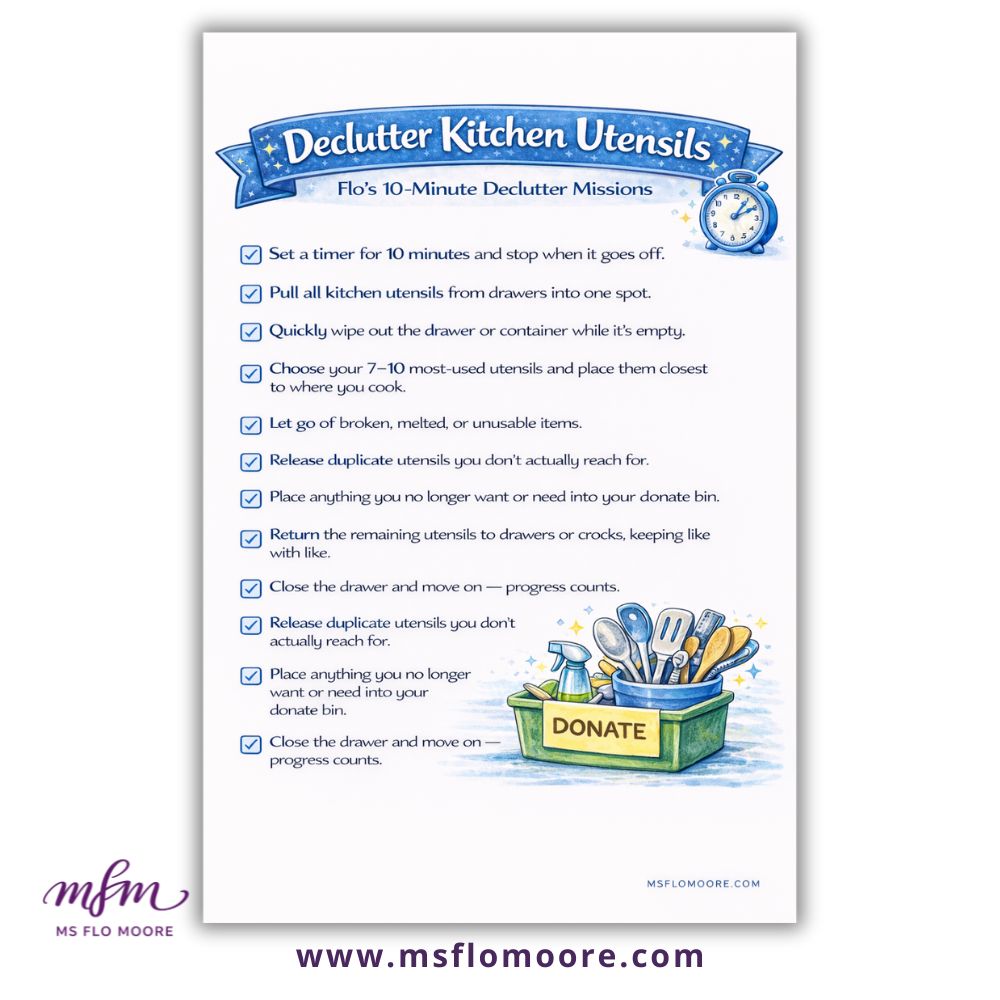
Step 1: Get the Free checklist to declutter & organize kitchen drawer utensiils
Get Checklist #4 which is the declutter & organize kitchen drawer utensils checklist from my free resource library (get the password to the library in the form at the bottom of this post).
Step 2: Set a 10-minute timer
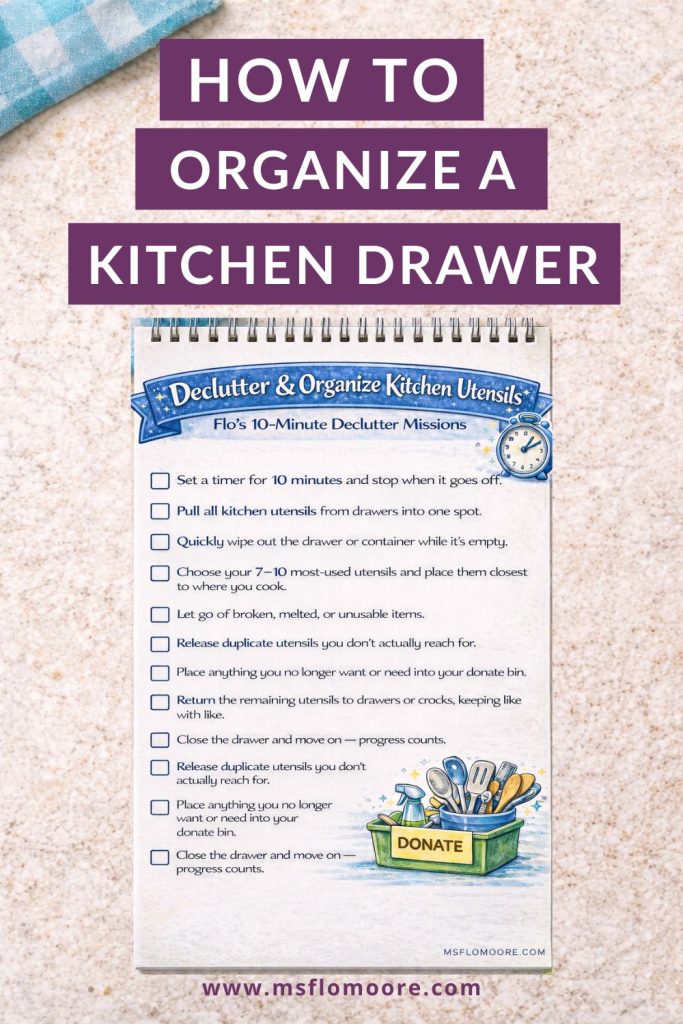
Set a timer for ten minutes and commit to stopping when it ends.
This is what keeps the reset from turning into a bigger mess. You’re not here to finish everything — you’re here to leave the drawer better than you found it.
Ten focused minutes is plenty. You can always come back for another quick win like the bedroom closet challenge.
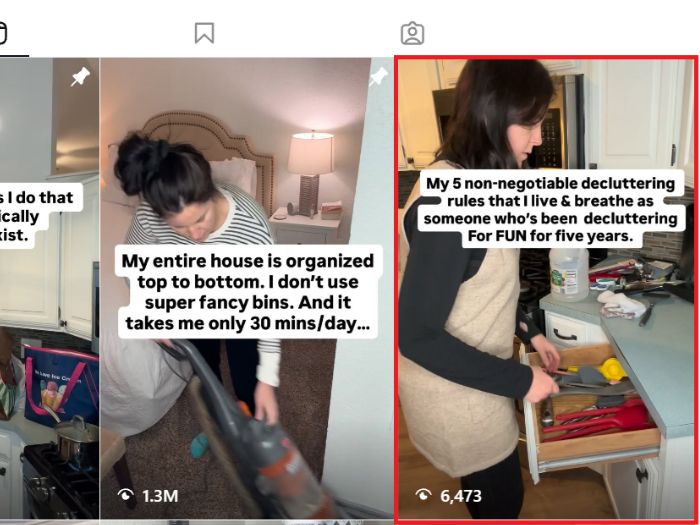
Watch on Instagram: how to organize a kitchen drawer
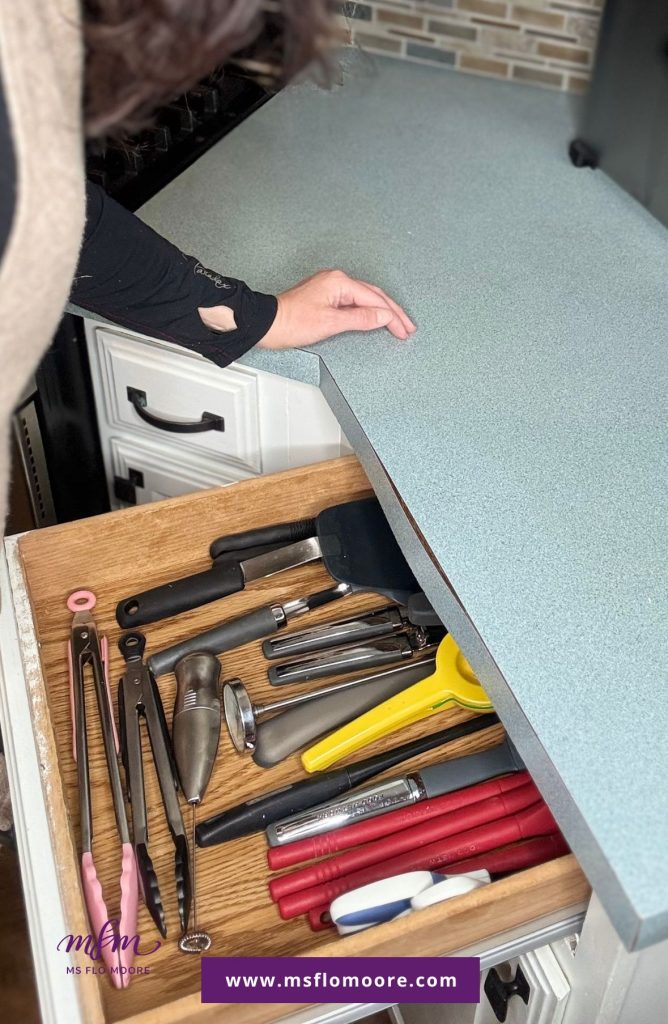
Step 3: Empty the drawer
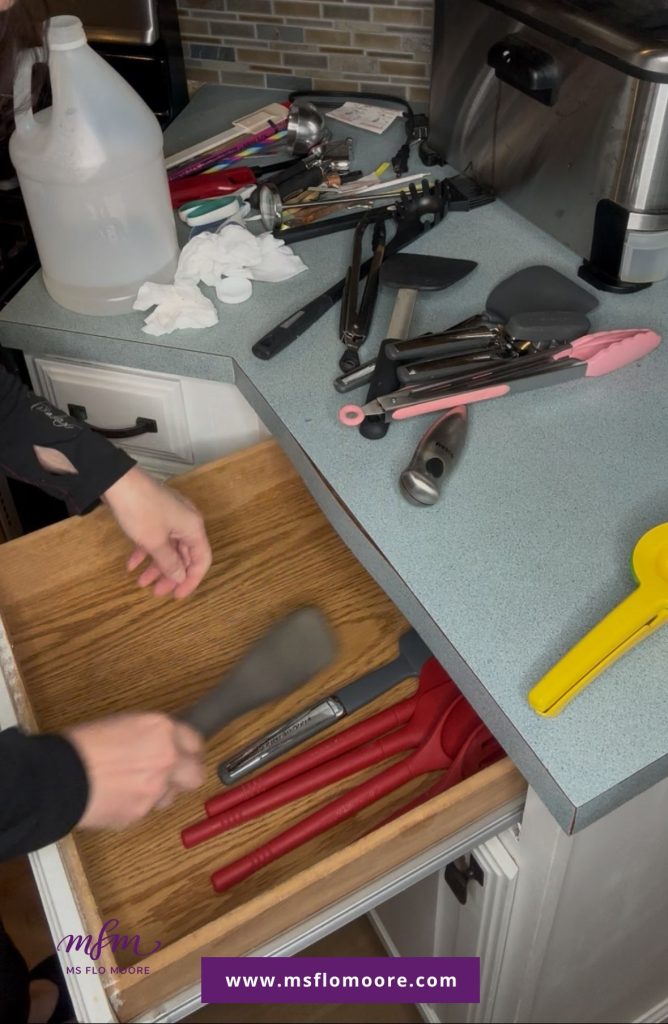
Pull everything out into one pile on the counter.
Seeing everything at once helps you make faster decisions and prevents you from just shuffling clutter around. You can’t organize what you can’t see.
Step 4: Quick clean + choose your essentials
Give the empty drawer a quick wipe, then immediately grab your favorite, everyday utensils and set those aside first.
Start with what you actually use daily. This creates your “keep” pile and makes the rest of the decisions easier.
Organize for use — not looks.
Step 5: Let the extras go
Now remove anything broken, melted, duplicated, or frustrating to use.
If you always skip over it, you probably don’t need it. Keep your favorites and release the rest. Less truly works better here.
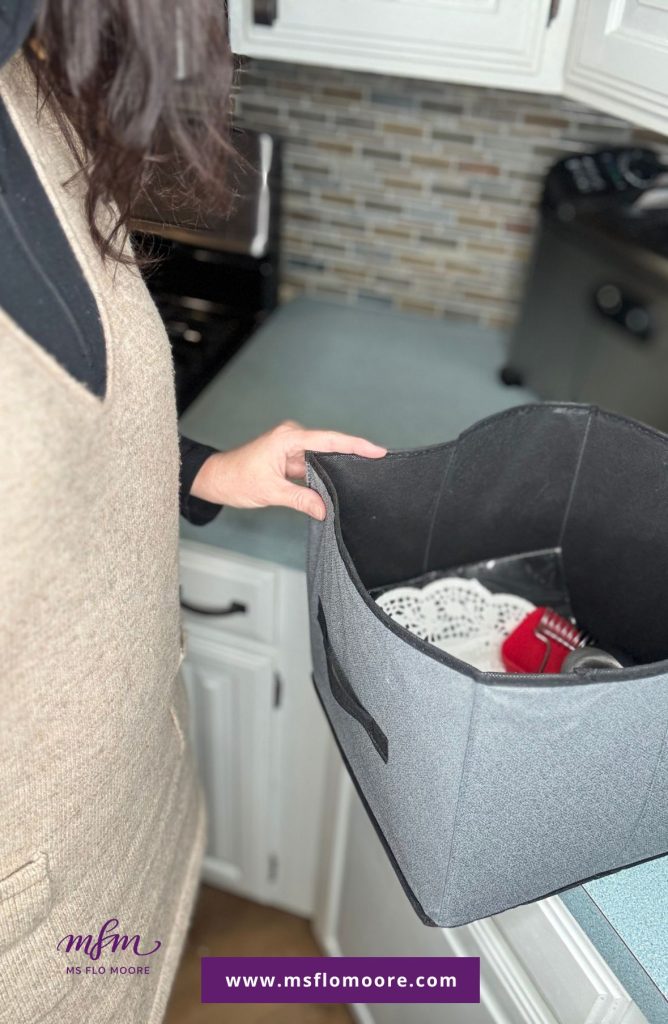
Step 6: Group and return
Lightly group what’s left and place everything back flat or loosely arranged so nothing gets buried.
No fancy dividers required. Just simple categories and breathing room so you can grab what you need without digging.
Easy beats perfect
Vinegar + water ratio:
- 1 cup water
- 1 tablespoon white vinegar
You just proved that progress doesn’t require hours of work or perfect conditions. You know how to reset a space now — and that skill transfers anywhere in your home. One small reset at a time is how lasting calm is built.
my amazon store
- To
- 1 small trash ba
- To clean th
- Checklist #2 —
Free file for organizing kitchen drawer utensils
Get the password for the library with the free file by filling out this form:
I love seeing how you declutter and organize your kitchen drawer utensils using my checklist and tips! Please share a photo of your progress in our Facebook group or tag me on social media with #msflomoore.
Love

Want to remember this? Save this declutter and organize your kitchen drawer utensils tutorial to your favorite Pinterest board.
![30 Day Declutter Challenge To Stay Organized [FREE Printable To Stay Organized]](https://lifementoringacademy.ca/wp-content/uploads/2025/11/30-day-declutter-challenge-768x768.jpg)

![Earn Money From Home Decluttering [FREE PDF]](https://lifementoringacademy.ca/wp-content/uploads/2025/11/temp-44.jpg)